Creating a New WCMS Group
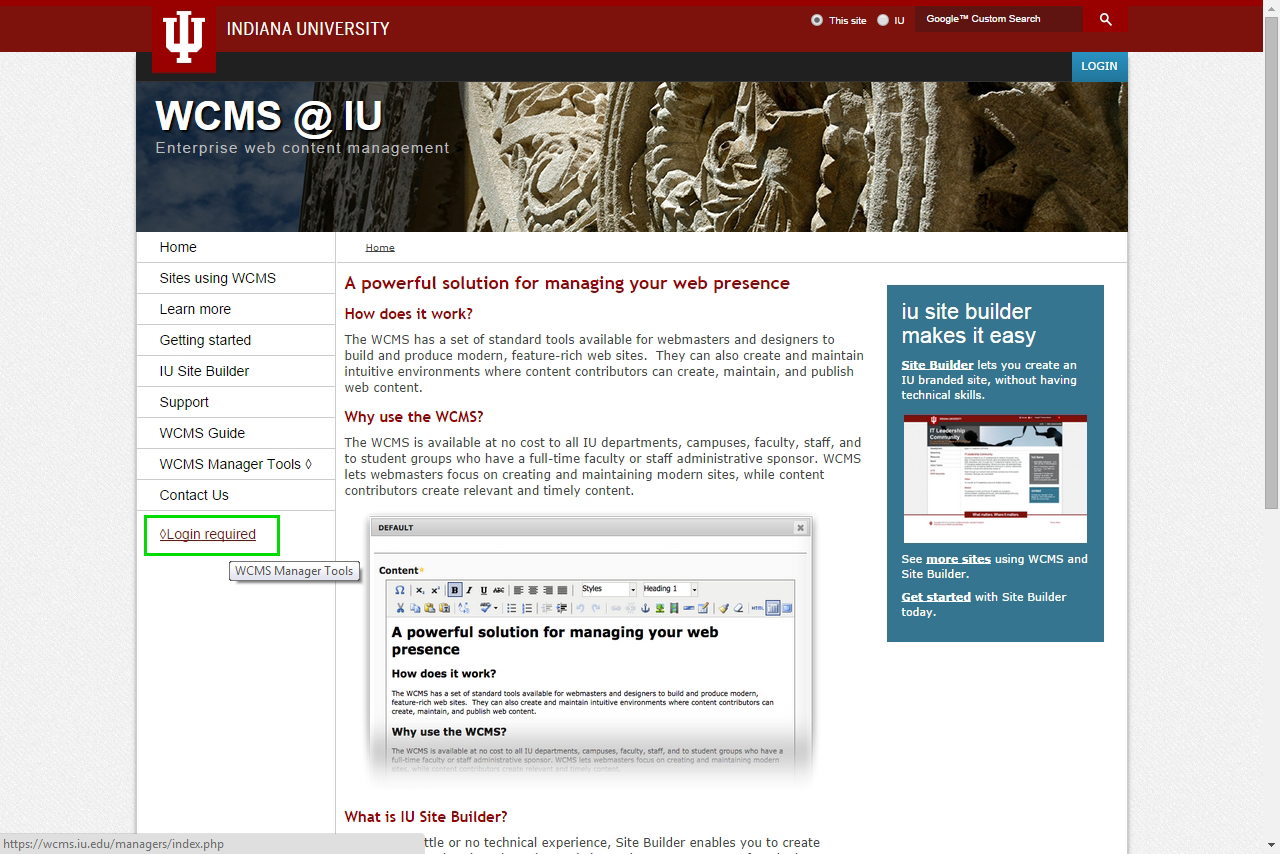
Step 1: In your browser's address bar, type https://wcms.iu.edu (or click this link).

Step 2: If you are not already logged in, click the Login required link to log in through CAS.

Step 3: Once you are logged in, click the Create Group link.

Step 4: Scroll to the bottom of the page and select your website from the first dropdown menu.
Step 5: In the middle field, enter a name for the group. In this example, an "interns" group is being created.
Step 6: From the rightmost dropdown menu, select a role.
- Contributor:
- Approver
- Publisher
- Manager
Step 7: Select the WYSIWYG toolbar options by clicking the checkboxes. In some cases, you will want to restrict certain specific options, such as the ability to insert images. In most cases, you will want to check all boxes.
Step 8: Click the create group button.

